Human beings are visual beings. Everything we hear, we relate in a mental image or a visual representation in our minds. It’s no surprise that eyeballs stay on a page twice as long when images are used in your blog posts.
A couple things you should know about images:
Lesson 4
 Human beings are visual beings. Everything we hear, we relate in a mental image or a visual representation in our minds. It’s no surprise that eyeballs stay on a page twice as long when images are used in your blog posts.
A couple things you should know about images:
- You can’t just take any image you want, you might find yourself in trouble with copyright law. ALWAYS read the Terms of Service.
- You can spend as much as you want on any given image for commercial use, which is the license you need to use it on your blog. Keep it CHEAP.
We recommend www.istockphoto.com,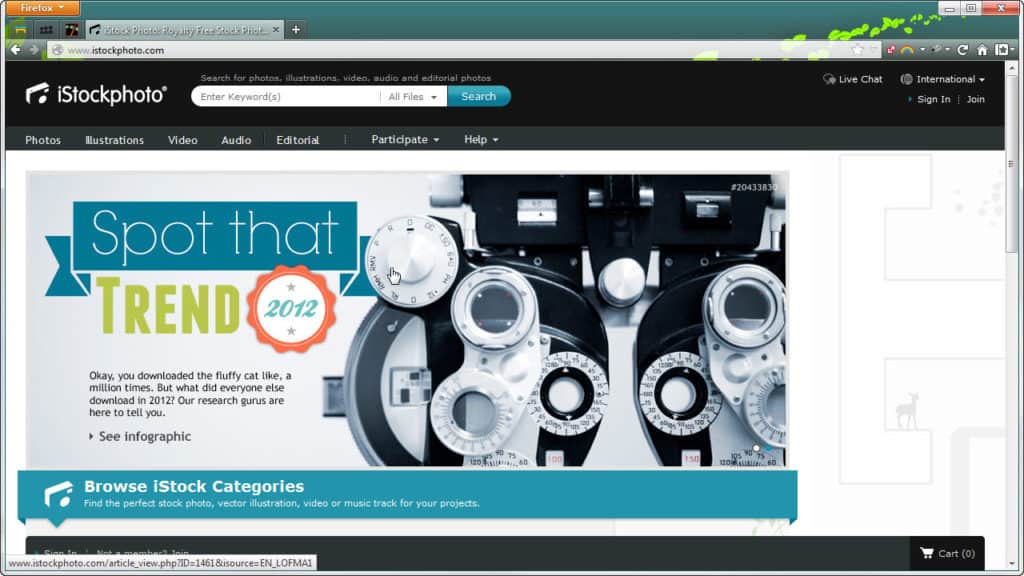 and BigStockPhoto.com,
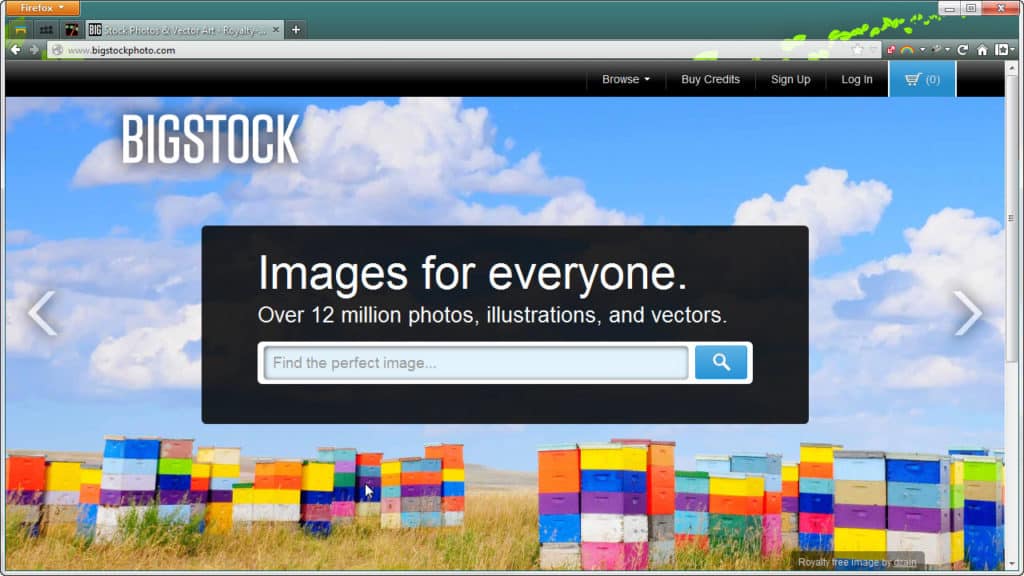 and you’ll get the best deal if you purchase blocks of credits, rather than by image. We find it’s more efficient to budget around $20.00 a month for those image credits – as opposed to spending the time to hunt down images that are free to use commercially through Google Search or Flickr. Depending on how much you blog, you may not need $20 worth of credits per month so purchase them by the block as you need them. It’s a small price to pay, saves your valuable time, and makes it easy to stay on the right side of copyright law. Remember to ALWAYS read and abide by the Terms of Service for the use of these images.
Using images will keep your blog looking professional, and that helps build online credibility. Online credibility is a factor in demanding a fee for products and services that will actually build your business. All your time has to be accounted for financially, including the time it takes you to blog for your business.
How do You Use Images?
First choose an image, using keywords in their search bar, that helps tell the story or information you’re sharing on your blog.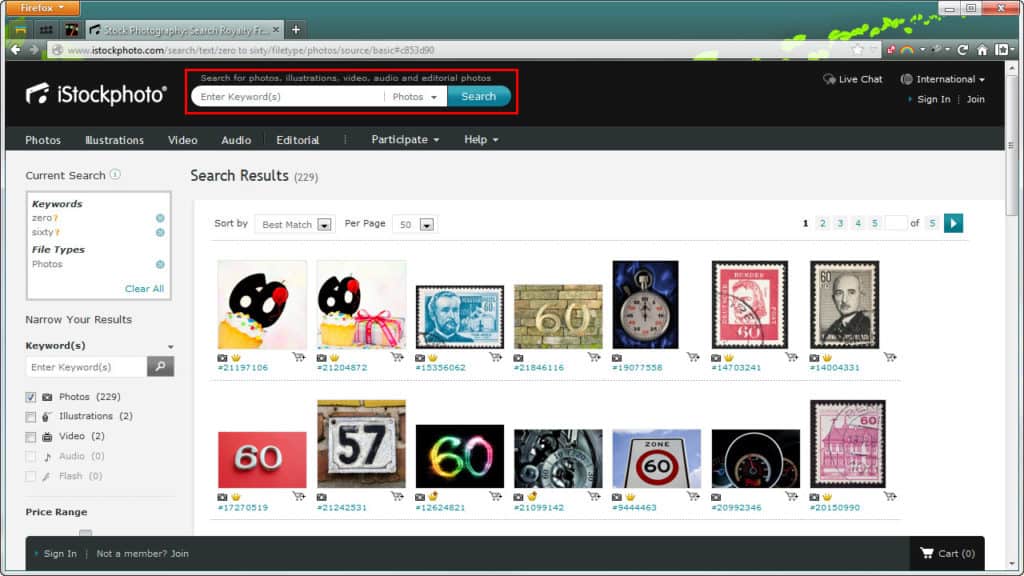 Then, select the smallest price range filter.
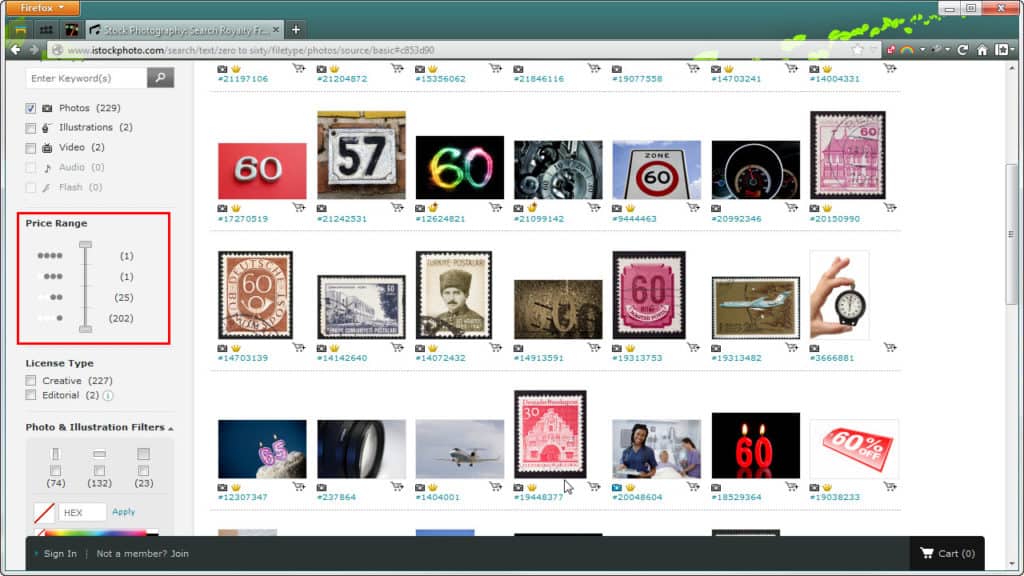 Once you pick an image, select the smallest possible size. Pay and download this to your computer.
Filing your images according to category will help you find them later, when it’s time to upload them into your blog post.
Add The Image To Your Blog
WordPress.org makes adding images seriously easy, as you’ll soon see.
Go to the visual editor inside the blog post you were just entering, click on the left side of the top of the post you just added, then click on the ‘add image’ icon.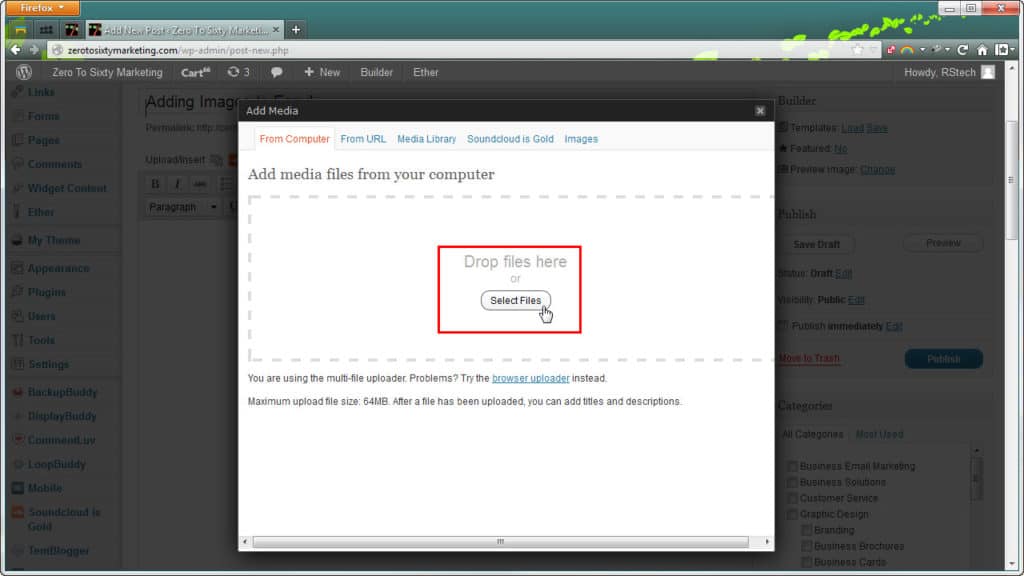 From there you can either drag and drop your image from the file you just created on your computer right into your media library, or upload it from your computer into the media library. We don’t recommend using the URL of an image from another website.
You’ll have many options inside that window, but select only ‘insert into post.’ If you’re a more advanced WordPress user and have a Featured Post enabled (not just an option, but you’ve gone through the steps to enable this feature) first add to Featured Posts, and then ‘insert into post.’
Once you see the image inside your unpublished blog and inside the editor, right click on the image. Two small icons appear at this point. One will delete it, one looks like a small picture. The icon that looks like a picture will move your image and give space around the perimeter so that it looks good in your post. Click on the picture icon.
Now you’re in the media library, and can alter your image. You can experiment here to see what you like. If you don’t want a border around your image, put a ‘0’ (zero) in the field marked ‘Border’.
If you like your bordered image, but want to move your image to the right or left of the text, move it by choosing the alignment here.
We recommend adding space around an image to keep a nice distance between the image and text of your blog. Adding 10px to your horizontal spacing and 5px to the vertical spacing should be enough for your image to set correctly. You can find that option in ‘advanced’ tab of your media editing box.
If you continue to have spacing issues, here are a few other tips that you should try:
- Continue to adjust your horizontal or vertical spacing by 5px at a time.
- Try breaking your paragraph apart by adding a line break before the sentence that won’t wrap correctly around the image.
- Shrink the size of your image from 100% to something smaller, also inside your image editor.
Last tips:
Avoid adding your picture multiple times, it can add a lot of weight to your website and cause it to load more slowly. Instead, if you want to use the same image on another post, simply add it right from the media library.
Make sure you add a sentence in the ‘Alt Text’ field of your image editor. You can choose to ignore a caption, if you like, but NOT the alt text. When members of the blind community (who actually comprise a large percentage of your viewing audience) read your blog, they use a tool called a ‘Reader.’ The Reader reads everything, including images, and stops sentences wherever there is period. Respect their situation and describe your image using a capital letter and a period.
It may be easier to upload multiple images using the ‘Gallery’ feature. How to Use a WordPress Gallery is coming up.

Leave a Reply